USING THE RULERS AND GUIDELINES IN CORELDRAW
USING THE RULERS AND GUIDELINES IN CORELDRAW

The ruler and guidelines are very effective and useful features of various design application for graphics basically. The ruler and guidelines features of a design application/software helps the designer in getting accurate measurement of what he or she is designing.
I’m going to point out just one application in this post and explain how you can put the ruler and guidelines features of the application to best use. And the software we will be using is CorelDraw
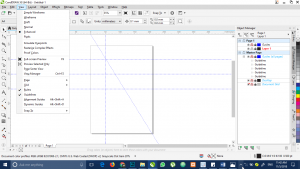
- To use the ruler and guidelines on your work area, go to the “view” menu on the menu bar and check the Rulers and Guidelines options

- After the rule option is checked, the rulers appear on the top and left side of the work area.
The values are usually determined by the units you measure in.

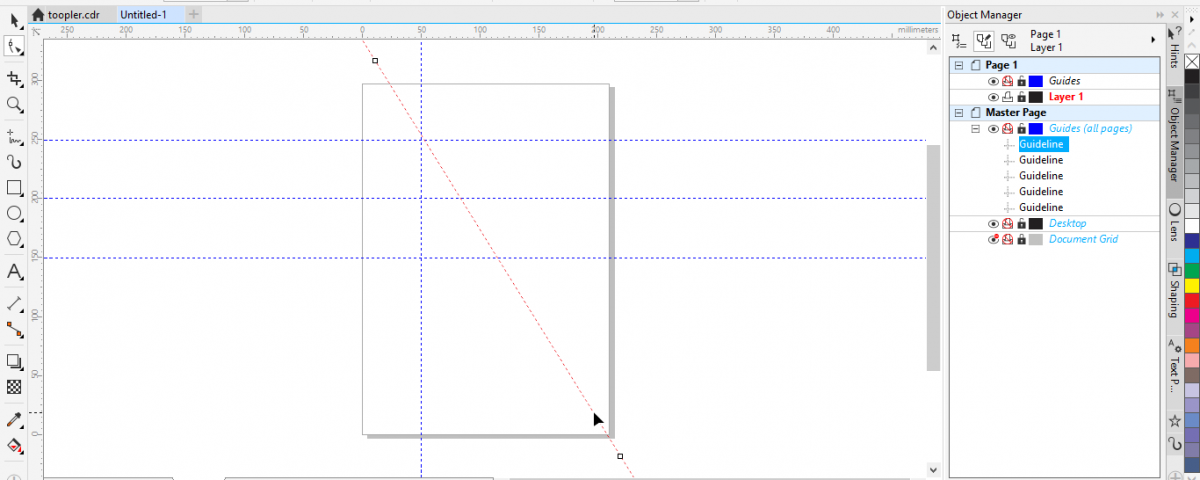
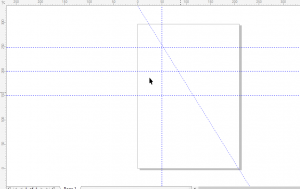
- To access and manipulate the guidelines, hover to the edge on the ruler that appeared on the work area. Click and drag on the ruler then, you will see a blue line coming out with the cursor as you drag into the work area, either from the top or the side on where the ruler is.

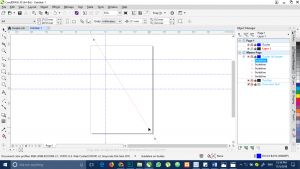
- To get the diagonal line, click and select the shape on the tool bar on your work area then hover on the guideline you want to make diagonal, drag from the bottom or the top to make it diagonal.

